As you guys know, we are Pinterest junkies. We like to find cool craft ideas (and food ideas!) on Pinterest and try them. You've already seen one of our Pinterest experiments (click here to read about it!). We know that in our first Pinterest post, we promised to do one Pinterest project per month. Yup...that was January and we're only on Pinterest experiment 2. We lied. You'll get over it.
That being said, we decided it was time to get over our Pinterest fail and try a new Pinterest experiment. This month we are doing clay ring trays:
We found the instructions here and found this to be a simple and manageable project. After all, there was no glue involved, so how could we fail?
STEP 1:
We gathered our materials...oven bake clay, stamps, stamp ink, gold permanent marker, glaze, ruler and paintbrushes.
STEP 2:
We had two colors of oven bake clay--white and off white. We decided to start with white first. The first thing to do was to take a ball of clay and roll it into a 1" ball.
STEP 3:
Take a glass bottle or rolling pin (we chose the rolling pin route) and roll the ball into a circle. The original post called for a round cookie cutter, but we didn't have cookie cutters available, so we just went with whatever freeform shape our clay decided to make.
STEP 4:
Once you have your shaped clay, you are to decide what you want it to look like. Will you stamp it? (Stacy's first one had three bee stamps, Lauren's was plain.) Will you paint it when it's done? Will you leave it plain? After you decide what to do, fold up the edges a little bit to keep your trinkets in place. We repeated these steps four times each--we each made two white trays and two off white trays.
STEP 5:
Bake the clay trays according to the directions on the clay package. (In our case, 15 minutes at 275 degrees.) We learned that when the 15 minutes is up, you have to let them cool completely or they will still be a little soft and malleable. Also, the baking clay has a weird smell. Stacy was not a fan.
STEP 6:
When we took them out of the oven, we really liked the white ones. The off white ones...well, they looked like tortillas. Stacy tried to put a positive spin on it by saying that they kind of looked like stone or marble, but really, they just looked like tortillas.
STEP 7:
We then decided to add some gold permanent marker and glaze. Lauren decorated her plain one with a gold rim and gold designs in the center. She also took bronze ink and restamped the ladybugs on one of her off white trays because she felt that the stamps didn't show up enough. She chose to glaze her two white ones.
Stacy drew a design in gold on one of her off white trays--gold dots around the edge and gold flower-like designs in the center. She tried to outline the owl stamp on her other off white one in gold, but it came out horrible. She named that one "sad owl." Needless to say sad owl will likely end up in the trash. She also has one with purple in it because she tried a purple stamp on a white tray. It ended up not coming out well, but it looked tie dye when it was redone. It was kind of cool!
THE FINISHED PRODUCTS:
The score is now Pinterest 1 - Stacy & Lauren 1.
Until our next Pinterest adventure...
Love,

Questions? Comments? Ideas? Email us at theaccessorizedlife@gmail.com
That being said, we decided it was time to get over our Pinterest fail and try a new Pinterest experiment. This month we are doing clay ring trays:
 |
| Click on the photo above to go to Pinterest post |
We found the instructions here and found this to be a simple and manageable project. After all, there was no glue involved, so how could we fail?
STEP 1:
We gathered our materials...oven bake clay, stamps, stamp ink, gold permanent marker, glaze, ruler and paintbrushes.
 |
| We are ready to go! |
STEP 2:
We had two colors of oven bake clay--white and off white. We decided to start with white first. The first thing to do was to take a ball of clay and roll it into a 1" ball.
 |
| 1" ball, ready to go! |
STEP 3:
Take a glass bottle or rolling pin (we chose the rolling pin route) and roll the ball into a circle. The original post called for a round cookie cutter, but we didn't have cookie cutters available, so we just went with whatever freeform shape our clay decided to make.
 |
| Rolling out our first ring tray |
STEP 4:
Once you have your shaped clay, you are to decide what you want it to look like. Will you stamp it? (Stacy's first one had three bee stamps, Lauren's was plain.) Will you paint it when it's done? Will you leave it plain? After you decide what to do, fold up the edges a little bit to keep your trinkets in place. We repeated these steps four times each--we each made two white trays and two off white trays.
 |
| Ready to be baked! |
STEP 5:
Bake the clay trays according to the directions on the clay package. (In our case, 15 minutes at 275 degrees.) We learned that when the 15 minutes is up, you have to let them cool completely or they will still be a little soft and malleable. Also, the baking clay has a weird smell. Stacy was not a fan.
 |
| A little snack while we waited for them to bake! |
STEP 6:
When we took them out of the oven, we really liked the white ones. The off white ones...well, they looked like tortillas. Stacy tried to put a positive spin on it by saying that they kind of looked like stone or marble, but really, they just looked like tortillas.
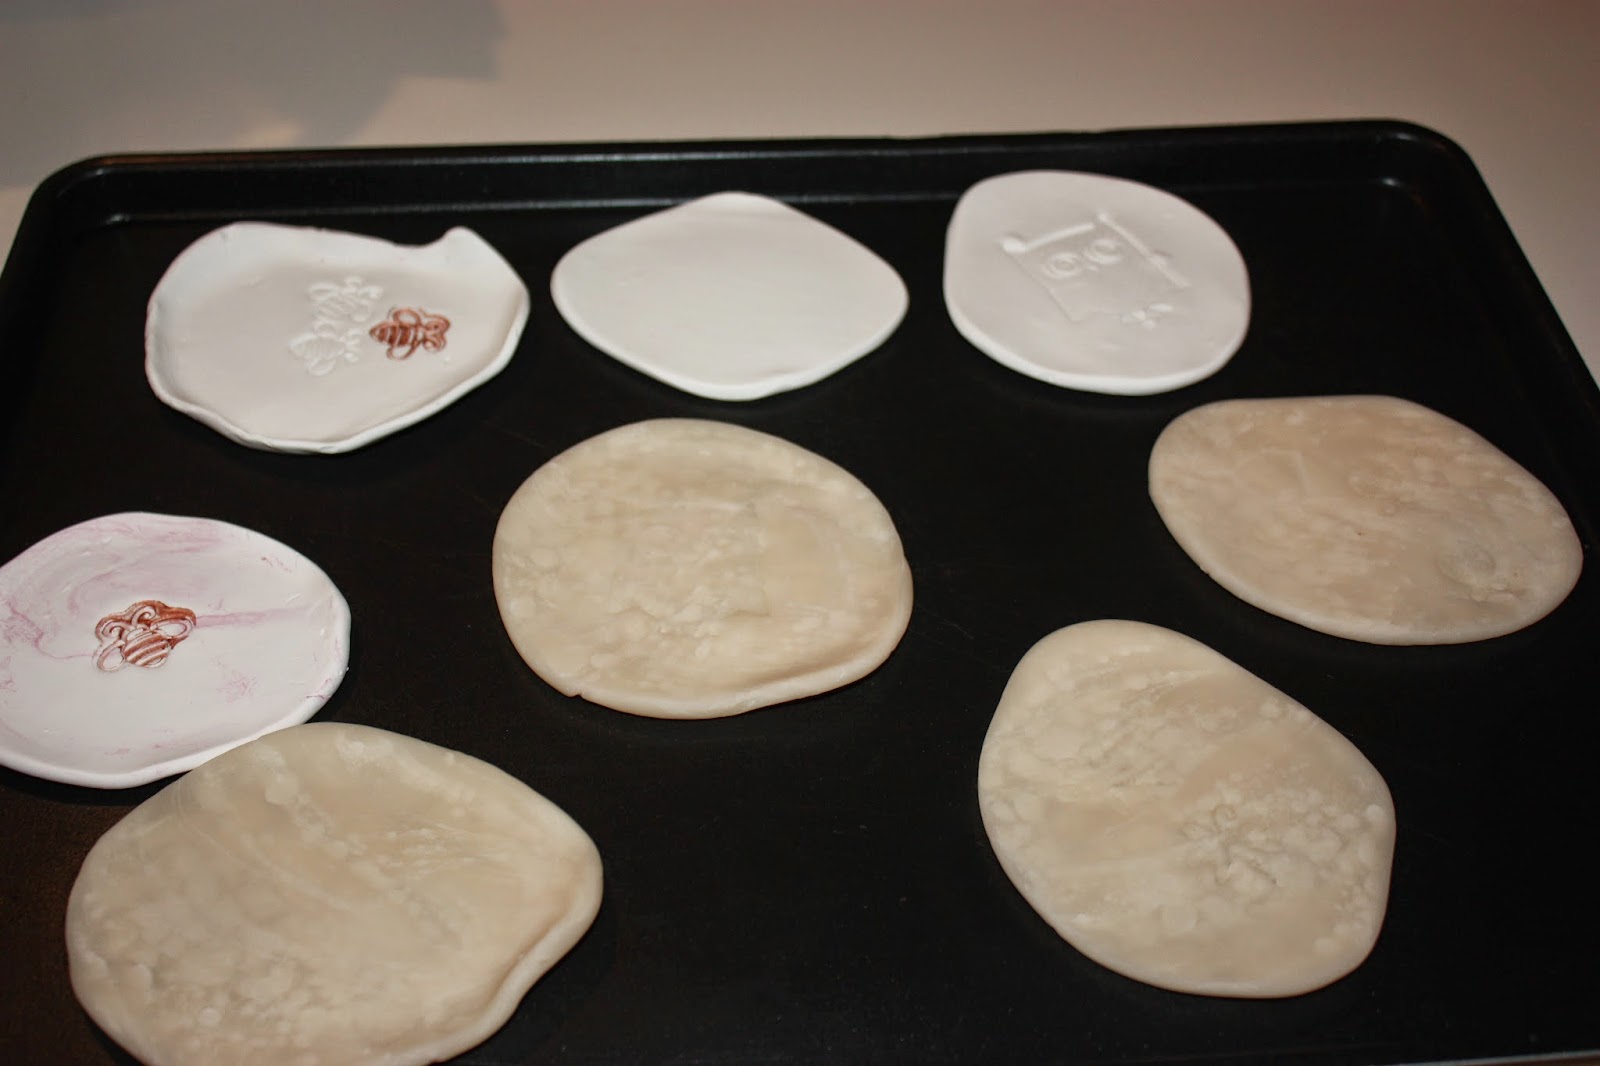 |
| All baked! Don't they look like tortillas? |
STEP 7:
We then decided to add some gold permanent marker and glaze. Lauren decorated her plain one with a gold rim and gold designs in the center. She also took bronze ink and restamped the ladybugs on one of her off white trays because she felt that the stamps didn't show up enough. She chose to glaze her two white ones.
 |
| Lauren's trays |
Stacy drew a design in gold on one of her off white trays--gold dots around the edge and gold flower-like designs in the center. She tried to outline the owl stamp on her other off white one in gold, but it came out horrible. She named that one "sad owl." Needless to say sad owl will likely end up in the trash. She also has one with purple in it because she tried a purple stamp on a white tray. It ended up not coming out well, but it looked tie dye when it was redone. It was kind of cool!
 |
| Stacy's Trays |
THE FINISHED PRODUCTS:
 |
| Ta-Da! |
The score is now Pinterest 1 - Stacy & Lauren 1.
Until our next Pinterest adventure...
Love,
Questions? Comments? Ideas? Email us at theaccessorizedlife@gmail.com
No comments:
Post a Comment